Showing posts with label exposure. Show all posts

1.03.2009

Winter Is Back

It's been a long time since we've had a "Minnesota Winter" here in Minnesota. That may sound strange because every time you talk with someone from somewhere else they always ask if it's cold here or comment that, "It must be cold up there." We get comments like that year round. But, we really haven't had a "Minnesota Winter" here since about 1983. That's a quarter of a century of diminishing reputation, waning integrity, forgotten folklore, melting celebrity!

Now that the economy is in the crapper, we have the snow and still can't sell the snowmobiles! Oh well, those who have snowmobiles can use them without excessive transport.

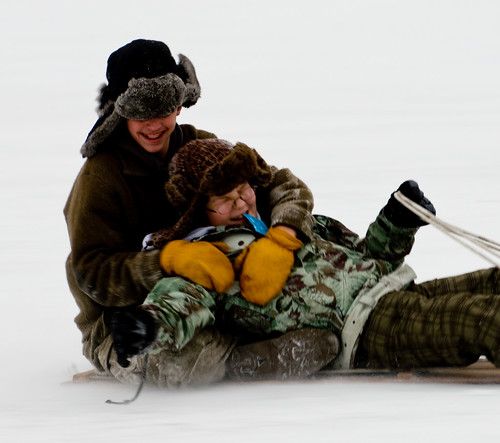
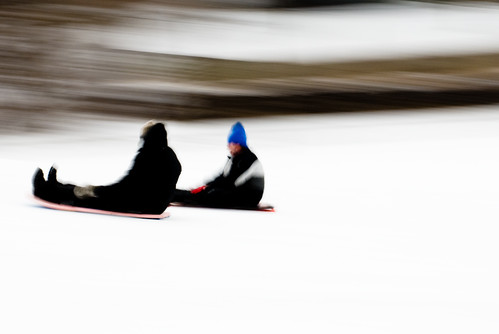
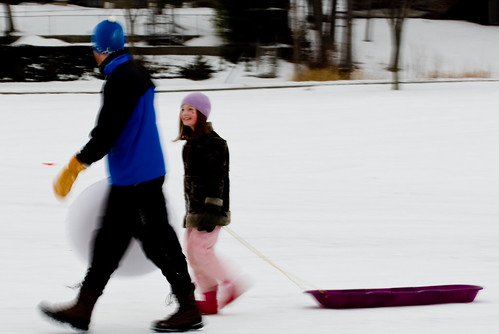
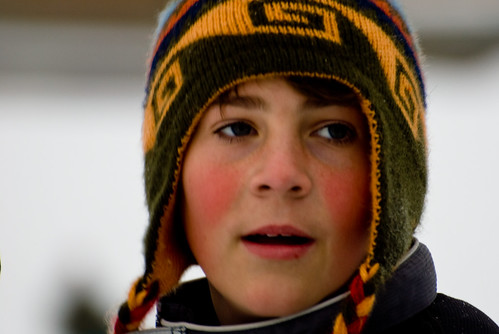
I was at Lyons Park today and there were a lot of people riding the hill.

Sledding

Sledding

Sledding

Sledding

Note: Don't forget to overexpose your images 1 to 2 stops when shooting in the snow. See my post Snow White and the 2 Stop Overexposure.

i shoot nikon

12.05.2007

Snow White and the 2 Stop Overexposure

This past weekend we had our first big snow fall, got some more last night and they're predicting more for this week. So, it only seems appropriate that I post something here about shooting snow. Snow is very bright and many of us have a hard time capturing that quality in our snow images. They usually come out gray and muddy. So, for my benefit, I'll talk through the problem and consequently give you something to chew on the next time you're shooting snow.
First Snow
Here's the deal ... the problem is your camera's exposure meter. Especially, if you're using 3D Matrix metering, or even center-weighted metering. The meter looks at the scene and calculates an "average" value to use to expose the image. In other words, the meter looks at the really dark areas, the really bright areas and all the values in between and comes up with an average that we trust will expose the image properly. Unfortunately, the image doesn't workout that way.

Just for the record the "average" that I'm talking about is technically known as 18% gray. Essentially, black is black (0%) and white is white (36%) meaning that photographic black reflects 0% of the light shining on it and photographic white reflects 36% of the light shining on it. The camera's meter takes all that into account and returns an exposure value base on the 18% benchmark ... or average.
First Snow
This works great for a scene with 50% dark values and 50% light values. The problem arises when you shoot a snowy scene because usually much more than 50% of the scene is reflecting 36% light or photographic white. So, consequently the exposure meter suggests a value that is one or two stops too low or underexposed turning that beautiful white snow to a muddy gray. Bummer.

There are a few different approaches you can take to counteract the camera's proclivities to underexpose snow and luckily they're all pretty simple.

First off ... using 18% gray as our benchmark if I underexpose an image by four stops I can achieve photographic black. On the other hand if I overexpose by two stops I can achieve photographic white. Give it a try. After all, you're shooting digital now and you won't be wasting any resources. See what you come up with.

So, for the first trick ... you can assume that you need to overexpose by 2 stops to achieve photographic white. Working in manual exposure mode it's easy enough to crank your exposure open 2 stops on every shot. If you're using one of the auto modes (Aperture, Shutter, Program) you can set an exposure compensation value of +2. Using the program modes you may have a setting for shooting in snow (sometimes indicated with a snowman\sun icon) or you can select one of the other program modes and leave your exposure compensation value at +2. This is the best solution when shooting with a modern, compact point and shoot camera ... set your exposure compensation to at least +1 but no more than +2.

The trick that I like is set the D70/70s to manual mode. Set the aperture you want for your subject ... perhaps f/8 and then point your D70/70s to the sky. While looking at the sky, set the shutter speed so the exposure is correct ... not underexposed and not overexposed. Then, shoot away at the subject. Once you point your camera back at the subject you'll notice in the viewfinder that the exposure meter is overexposing the scene somewhere between 2/3 stops and 2 stops. The nice thing is the exposure seems to be more accommodating to the overall scene. Metering off the sky tends to give you a more precise exposure based on the light that's reaching the subject versus the light that is reflecting off the subject.

If you have the time to take you can use a gray card and set your meter to the light that is reflecting off the gray card subject. Test the difference between using a gray card and using the sky. They're real close! And since a gray card isn't always at hand using the sky is a great convenience!
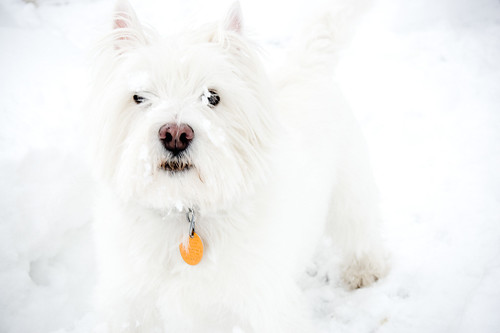
Bailey in Snow
This one of Bailey I purposefully overexposed by more than 2 stops so that she just faded into the white surroundings. At least that demonstrates the control you have and it's fun playing around with principles of physics ... isn't it?

Hope this helps! Thanks for reading.

i shoot nikon

7.13.2007

Whatever happened to Bobby Sherman?

I was in Seattle earlier this week attending a web design conference with about 400 other geeks from all over the place. Web Design World was held at the Marriot on the waterfront.

I had never been to Seattle. I had never been to a web design conference. Both were extraordinary. The only thing awry was the weather. It didn't rain! Not one drop. In fact, I had checked the weather forecast prior to my arrival. It was to be sunny and in the 70's while back home it was going to be sunny, hot and in the 90's. What actually happened ... sunny and 70's back home, sunny and hot in Seattle!

My day's were pretty much filled with conference but, I woke up early and took some shots, shot a sunset from the pier of the Seattle Aquarium on Monday night and took a couple of hours from the conference on Tuesday afternoon.
seattle-23
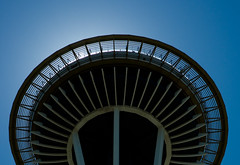
I just took my camera with my trusty 18-70mm f/3-4.5. This was a great lens to walk with. It's fast, sharp (I tried to keep the aperture around f/8.0) and light weight. I walked up toward the Space Needle ... did you know that thing was built in 1962. It's amazing that it's been around that long.

I got some great shots along the way and around the Space Needle. The one on the left was taken when the sun was really high in the ski. You can see it casting an eclipse effect, halo around the capsule.

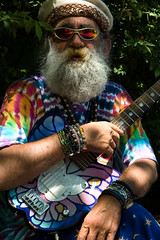
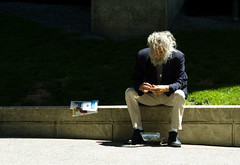
Just under the Space Needle nested in the landscape I met Earl. Well, I call him Earl because I forgot to ask him his name.
seattle-24
Anyway, I had snapped a quick shot of Earl and thanked him by throwing a buck into the colander he was using to hold his street money. We got to chatting and he asked where I was from and what I was doing in Seattle. I told him I was here for a web design conference expecting the conversation to be over quickly. Not so, oh Stop Bath breath!

Earl proceeded to inform me that he was a Photoshop expert, had been working with Photoshop since its inception and launched into a lesson about the Photoshop interface instructing me on the exciting use of layers and the different blending modes. He was great.
seattle-28
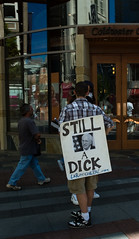
I wandered down 5th Avenue to the retail district catching this shot of a kid passing out flyers in support of the LaRouche Political Action Committee whatever that is. It was just a good photo opp.

It was about here where I turned back toward the waterfront and ended up at the Public Market Center ... that famous farmers market ... where they throw the fish back and forth. A couple of times I thought I saw Bobby Sherman. I needed a Starbucks.
seattle-29
One of the things I worked on today was purposely stay away from 3D Matrix metering and use center-weighted. I found that, in the light of midday sun, I was able to get the exposure I wanted more accurately. I kept the camera in Aperture Priority (A) mode and ISO 200 for the whole walk although I raised the ISO to 400 and popped the on-board flash when I got inside the market.

More images Seattle set on Flickr.

i shoot nikon

5.31.2007

Exposure: Don't be a DFU.

I've read a lot of posts ... users exclaiming the exposure is off by a couple of stops on a lot of new or newer DSLR cameras. Well ... I'm not buyin' it!!!

The civilized world successfully conquered the principles of automated production well over a hundred years ago! And have spent the time since perfecting manufacturing quality and consistency. You can't tell me that the great many users experiencing variations in the manufacture of their DSLR's accurately represents the reliability of today's manufacturing process. There has to be something wrong with the user. Stand up, shake it off crybabies! Take responsibility for your craft! Stop blaming the equipment!!!

Instead ... start to understand the source of your own misconceptions ... do the math.

Just in manual mode alone ...


Shutter from 1' to 1/8000 - 1/3 stop increments = 42 possible settings
Aperture from f/3.5 - f/32 - 1/3 stop increments = 24 possible settings
Metering - 3D Matrix, Center Weighted, Spot = 3 possible settings
Format - JPEG (B,N,F) or NEF(RAW) or both = 5 possible settings
ISO - 200 to 1600 = 10 possible settings on a D70s

That, my friends means for every single exposure you make you have to decide which of the 151,200 possible settings works best for your shot! And that doesn't count all the other variations possible when you start using the camera settings to process jpegs! Sharpening, contrast, color reproduction, saturation, and hue (just to name a few) pushing the possibilities staggeringly over half-a-million choices!

You have to develop a working knowledge about exposure that allows you to quickly narrow your choices and zoom into the one ... I repeat ... the "one" that is the best for your shot. Here's my advice ...

Keep it as simple as possible. Set everything to default. Pick one format (I use NEF(RAW) and Adobe Lightroom for processing), use manual mode and learn about exposure. If you have already learned about exposure ... re-learn it! And most of all ... use your camera a lot and use it consciously - before and after image capture!

If all you want to do is plug your DSLR into a printer and get a bunch of 4x6 prints ... you bought way too much camera.

One of the better books I've read about exposure is Bryan Peterson's treatise entitled: Understanding Exposure: How to Shoot Great Photographs with a Film or Digital Camera. This book was originally released in 1990 and updated to its present 3rd edition supporting the growing nation of digital photographers.

Most of what he writes covers exactly the same thing you may have read about in innumerable printings before his. Smaller opening equals more DOF (depth of field), stop action with faster shutter speed ... blah blah blah. But he frames his teaching in very simple, practical terms that are easy to relate to and apply when shooting.

For example, he divides apertures into three groups: Story telling, who cares, and singular isolation.


  • Story Telling: Great depth of field where the foreground and background work together to capture the story ... both subject and environment are important to the image (f/16 and up).


  • Who Cares: Essentially, images where depth of field is of little concern ... subject up against a building or backdrop. Somewhere in the f/8 - f/11 range where the lens is sharpest.


  • Singular Isolation: You need just the subject ... no distractions from the surroundings. The closer to the subject the larger the aperture opening (f/2.8 to f/5.6) keeping the background out of focus.


These are principles that are quickly learned and applied out in the field. It can take a while to get them into practice but well worth the time and attention.

He also describes some very helpful techniques that are almost always available to you even when you don't have your camera! My personal favorites being Mr. Green Jeans and the Sky Brothers. I don't wanna spoil the ending but instead tell you that his approach is easy to understand, easy to remember, worth practicing and quick to success.

Others of you may have similar recommendations and are welcome to comment enlightening the rest of us.

Note: for the uninitiated ... DFU is programmer and help-desk speak for dumb fucking user.

i shoot nikon